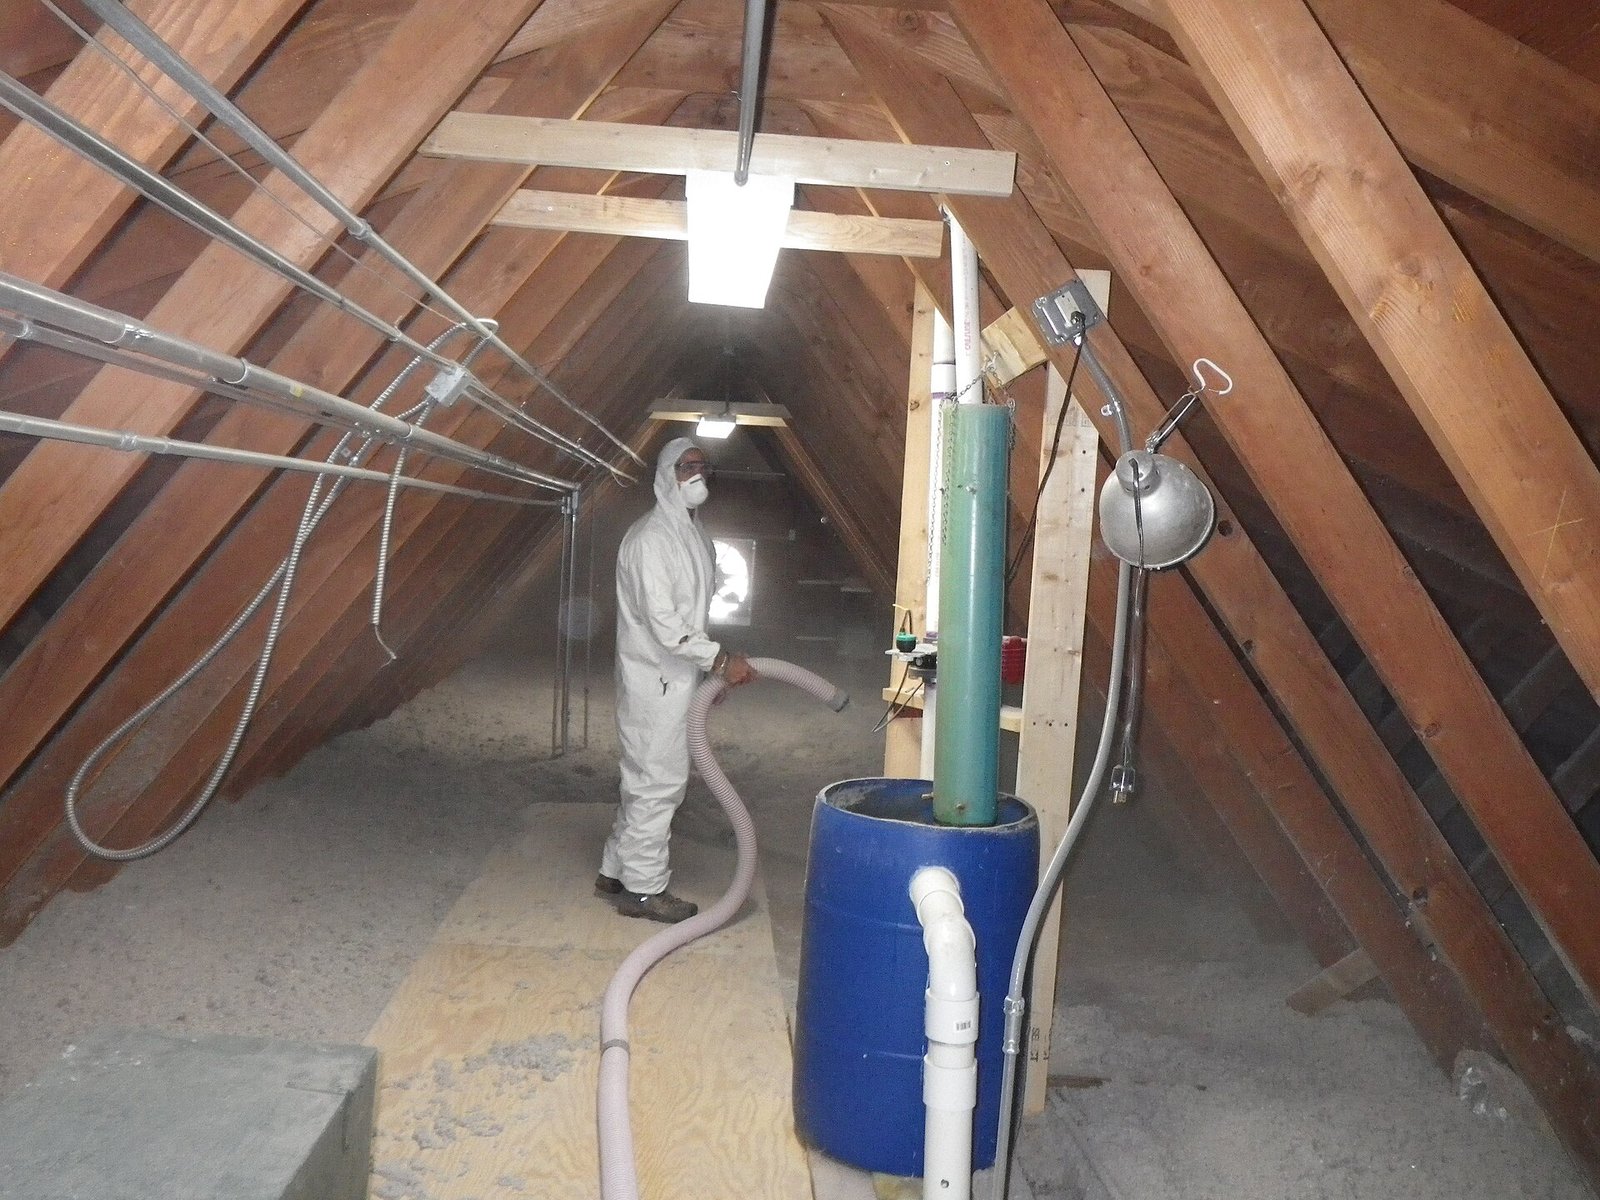
Air sealing and insulation solve different parts of the same comfort problem. Air sealing limits uncontrolled air movement; insulation slows heat flow through building materials. In many homes the best sequence is to diagnose moisture and combustion risks, seal accessible leakage paths, and then install or improve insulation as one coordinated project.
“Which comes first?” sounds like a product question, but it is really a building-science question. The answer changes with climate, roof and wall assembly, existing insulation, moisture history, heating equipment, ventilation, access, and renovation plans. Adding insulation over active leaks can hide problems and make future sealing difficult. Tightening a building without addressing combustion safety or ventilation can also create new risks.
Air sealing and insulation are not interchangeable
| Measure | Primary job | Typical targets | What it cannot do alone |
|---|---|---|---|
| Air sealing | Reduces uncontrolled movement of indoor and outdoor air | Attic penetrations, chases, top plates, plumbing and wiring holes, rim joists, weatherstripping | Provide adequate thermal resistance across large surfaces |
| Insulation | Slows conductive heat flow | Attic floor or roof, walls, floors, basement or crawl-space boundaries | Stop air flowing through gaps, open cavities, or porous assemblies |
| Ventilation | Provides intentional outdoor air and removes pollutants or moisture | Baths, kitchens, whole-house systems where needed | Correct bulk water leaks or substitute for air sealing |
| Moisture control | Keeps rain, groundwater, plumbing water, and condensation out of vulnerable materials | Roof, flashing, drainage, plumbing, vapor and condensation control | Replace thermal and air-control layers |
Why air often bypasses insulation
Fibrous insulation can perform poorly when air moves through or around it. In an attic, warm air may escape through recessed lights, wiring holes, open wall cavities, plumbing stacks, dropped soffits, attic hatches, and duct chases. The insulation may look deep while hidden pathways carry heat and moisture around it.
That is why accessible air sealing commonly precedes adding attic insulation. Once loose-fill insulation is installed, locating top plates and penetrations becomes harder. The work is not limited to applying foam at random: large openings need durable materials and mechanical support, fire-rated assemblies require compatible methods, and heat-producing equipment needs safe clearances.
Start with water, moisture, and safety
Do not bury a roof leak, wet sheathing, mold growth, damaged wiring, blocked vent, or unsafe flue under new insulation. Bulk water must be stopped first. Materials should be dry enough for the intended assembly, and the project should account for where indoor and outdoor vapor can condense during seasonal conditions.
Homes with atmospherically vented combustion appliances require special care. Air sealing can change pressure relationships and available combustion air. A qualified assessor may need to test draft, spillage, and carbon monoxide before and after work. Existing knob-and-tube wiring, vermiculite that may contain asbestos, damaged recessed lights, and inaccessible junction boxes are reasons to pause and obtain appropriate professional evaluation.
| Condition found | Priority before insulation | Likely professional |
|---|---|---|
| Roof or plumbing leak | Stop source and dry affected materials | Roofer, plumber, or water-damage specialist |
| Combustion appliance in or connected to the pressure boundary | Combustion-safety assessment | Qualified HVAC or building-performance professional |
| Suspected asbestos or vermiculite | Do not disturb; test and plan appropriately | Licensed asbestos professional under local rules |
| Damaged or obsolete wiring | Electrical evaluation and repair | Licensed electrician |
| Bathroom fan exhausting into attic | Route approved duct to outdoors and control condensation | Qualified ventilation contractor |
| Visible mold or persistent dampness | Find moisture mechanism before enclosure | Building or moisture specialist as appropriate |
Use measurements instead of guessing
A home energy assessment can combine visual inspection, utility history, infrared imaging under suitable conditions, duct testing, and blower-door testing. A blower door measures building leakage under a controlled pressure difference. It does not identify every leak by itself, but during the test a trained assessor can locate important pathways and quantify improvement.
Thermal imaging is also a diagnostic tool, not an X-ray. Results depend on indoor-outdoor temperature difference, sunlight, wind, moisture, emissivity, and operator interpretation. Use it with knowledge of the assembly and, when possible, controlled pressure testing.
A sensible upgrade sequence
- Define the thermal and pressure boundaries. Decide whether the attic, crawl space, basement, garage, and mechanical rooms are inside or outside conditioned space.
- Address bulk water and drainage. Repair roof, flashing, plumbing, foundation, gutter, and grading problems.
- Evaluate hazards. Consider combustion, electrical, asbestos, pest, and structural conditions.
- Measure existing performance. Record insulation depth and condition, leakage evidence, temperatures, humidity, and energy use.
- Seal important accessible leaks. Use durable, compatible materials and preserve required fire and service clearances.
- Install insulation continuously. Avoid gaps, compression, wind washing, blocked soffit ventilation, and missing dams at heat sources.
- Verify ventilation and HVAC operation. Tightening may change ventilation needs and heating or cooling loads.
- Inspect and document. Photograph concealed work, record materials and depths, and repeat testing when included.
Where projects commonly go wrong
Air sealing fails when short-lived caulk or foam is used where sheet material, flashing, gaskets, or mechanical fastening is needed. Insulation fails when installers cover only easy open areas and leave transitions, hatches, eaves, band joists, and vertical boundaries discontinuous. Both fail when the project ignores ducts outside conditioned space.
Another mistake is replacing windows first solely because they feel cold. Windows can be important, but attics, large leakage paths, uninsulated floors, and duct losses may deliver more comfort per dollar. An assessment should compare area, condition, leakage, thermal performance, moisture, cost, and other renovation goals.
| Area | Air-sealing examples | Insulation considerations |
|---|---|---|
| Attic floor | Top plates, chases, penetrations, hatch, dropped ceilings | Continuous depth, eave ventilation, dams, safe clearances |
| Roof deck | Transitions, penetrations, wall-to-roof connections | Assembly-specific condensation and drying design |
| Rim or band joist | Joints, penetrations, sill transitions | Moisture-compatible insulation and pest inspection |
| Crawl space | Boundary penetrations and access | Coordinate ground moisture, drainage, ducts, and local climate strategy |
| Exterior walls | Service penetrations and accessible transitions | Avoid blind dense-packing where moisture or wiring conditions are unknown |
| Duct system | Seal duct joints with approved materials | Insulate ducts in unconditioned spaces after sealing |
How tighter construction affects HVAC
Reducing heat loss and gain can lower the building’s design load. That is usually beneficial, but it means replacement HVAC should be sized from the improved building—not copied from the old nameplate. Oversized cooling equipment may cycle quickly and control humidity poorly. Duct airflow and room distribution still need attention.
A tighter home also has less accidental ventilation. Kitchen and bathroom exhaust should reach outdoors, dryer ducts should be correct, and whole-house ventilation may be appropriate depending on measured tightness, occupancy, climate, and code. “Seal tight, ventilate right” means replacing random leakage with controlled ventilation, not eliminating fresh air.
How to compare contractor proposals
Ask each bidder to identify the pressure boundary, specific leakage sites, insulation area and target R-value, preparation, material, installed thickness and density where relevant, ventilation provisions, safety exclusions, quality-control process, and cleanup. “Add insulation to code” is not a complete scope if it omits air sealing or existing conditions.
Good proposals describe how recessed lights, chimneys, flues, attic access, soffit vents, electrical junctions, storage platforms, and bath exhaust will be handled. They also say who repairs hidden defects and what happens if wet or hazardous material is discovered.
Request before-and-after photographs of concealed air-sealing details and a final depth record for loose-fill insulation. If the proposal includes blower-door testing, require the test conditions and result rather than only a pass/fail statement. Documentation gives a future owner, HVAC designer, electrician, or roofer a usable record of what is hidden beneath the finished insulation.
The practical answer
For an accessible attic with dry materials and no unresolved hazards, air sealing before additional insulation is often the logical order. For a wall retrofit, roof replacement, damp crawl space, or home with combustion and moisture complications, the sequence may differ. Treat air, thermal, water, and vapor control as connected layers and verify the finished work.
Revisit the building after the first season of extreme weather. Check attic and crawl-space humidity, condensation, indoor comfort, utility use, exhaust operation, and any locations that previously showed staining or drafts. A successful project should remain dry and serviceable as well as efficient. Early follow-up can identify a disconnected duct, blocked vent, compressed insulation, or newly exposed moisture pattern before it becomes an expensive concealed defect.